Flashing the PolarFire SoC MPFS250T FCVG484 with Libero Software
This guide walks you through the process of programming the PolarFire SoC MPFS250T FCVG484 using Microchip's Libero software. It’s based on my experience working with the PolarFire Icicle Kit and covers everything from installation to verifying the flashed design.
Getting Started with Libero
To program the PolarFire SoC, the first thing you’ll need is Microchip's Libero software. You can download it and find detailed instructions on licensing and installation on the Microchip Libero Software page.
Step 1: Create a New Project
After installing Libero, launch the software and create a new project. For this guide, I’m using the PolarFire Icicle Kit, which features the MPFS250T FCVG484.
To simplify the setup, I used Microchip’s reference design for the Icicle Kit. You can find the design on their GitHub repository. Clone this repository to your local machine.
Step 2: Load the Reference Design
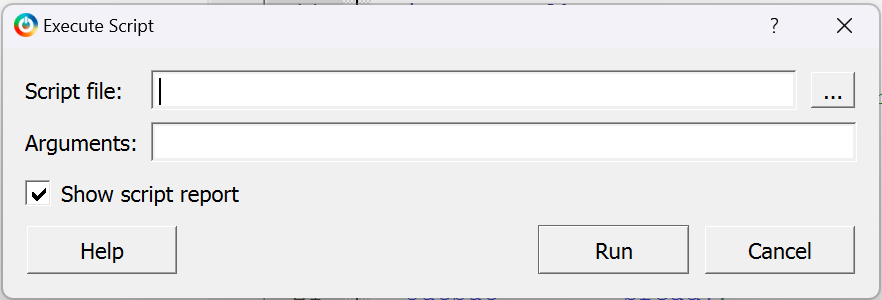
The reference design includes a TCL script that automates the setup. Here’s how to run it:
- Press CTRL+U in Libero to open the Execute Script panel.
- Navigate to the folder where you cloned the reference design.
- Select the TCL script and execute it.
This will load the design into your project, providing a solid starting point.

Step 3: Add a Verification Core
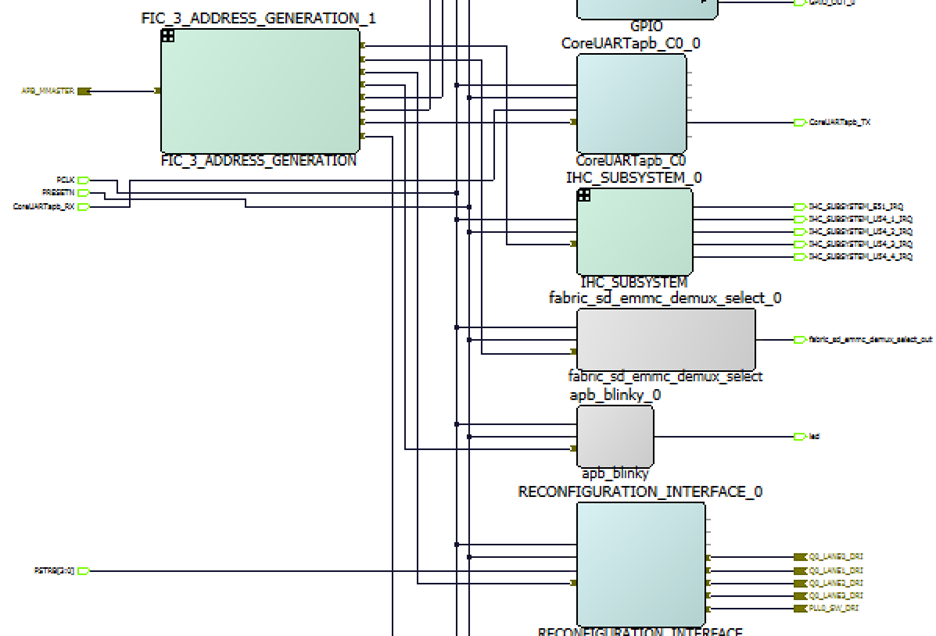
To ensure the FPGA is programmed correctly, I used the APB Blinky core from the BustedWing GitHub repository. This core uses the existing APB interface in the reference design to blink LEDs on the board.
Adding this simple verification step gave me confidence that the flashing process was working properly.

Step 4: Program the FPGA
With the design ready, here’s how I programmed the FPGA:
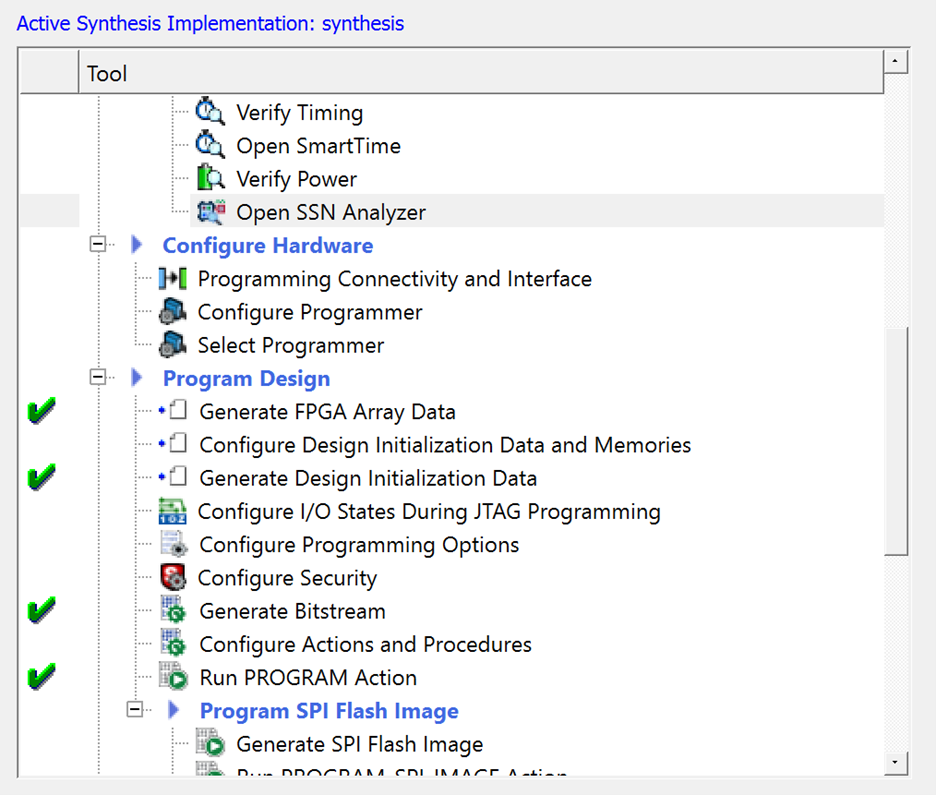
- In the Design Flow Tool Tab, I selected the programmer and verified that the PolarFire chip was connected.
- Then, I followed these steps in sequence:
- Synthesize the design.
- Place and Route the components.
- Generate FPGA Array Data.
- Generate Design Initialization Data.
- Generate Bitstream.
- Finally, I clicked PROGRAM to flash the FPGA.
This process can take a while, but once all the checkmarks appeared, I knew the programming was successful.

Step 5: Verify the Design
To confirm everything was working, I tested the board using the APB Blinky core. The LEDs blinked as expected, which verified that the FPGA had been successfully flashed.
Final Thoughts
Programming the PolarFire SoC MPFS250T FCVG484 can seem complex at first, but with Microchip’s Libero software and their reference designs, it becomes much easier. I hope this guide helps you get started with your own projects. If you follow these steps, you’ll be up and running in no time. Happy flashing!